What can a raspberry pi do? How can a pure beginner play with raspberry pi 5? Discover more below.
The journey is recorded using the “day” as the unit. It doesn’t strictly mean 24 hours and day(x) and day(x+1) don’t refer to two continuous days. The “day” basically equal to each time I played. Usually I play with it one day in a week and around 1 hour each time.
To solve issue 2, I did `setup_22` instead of `setup_18` given by the official doc:
After that, the display has shown the dashboard. Very nice.
🗒️ Homework: choose/implement the modules I want to use on my dashboard: DB information, Germany holidays. There are a lot of existing modules in https://forum.magicmirror.builders/.
I gave it a detailed look. Skipping the hardware preparation steps (which I didn’t want to have a look in a while), a link named as “kiosk mode” attracted my attention. I jumped into it. Wow! I could boot my raspberry pi via SSH, no need for a display or the missing microHDMI cable!
I took out the dusted raspberry pi again, rewrote a 32-bit OS imager. Yes! This time, I could SSH into the raspberry pi. Very big step. Great.
🗒️ Homework: do a very easy project to feel my sweet raspberry pi.
Day3
Important: the basic requirement for the first step: a microSD card for Raspberry pi and an SD card adapter for the laptop who will write the imager to the microSD card.
Of course, a raspberry pi and a laptop are also required.
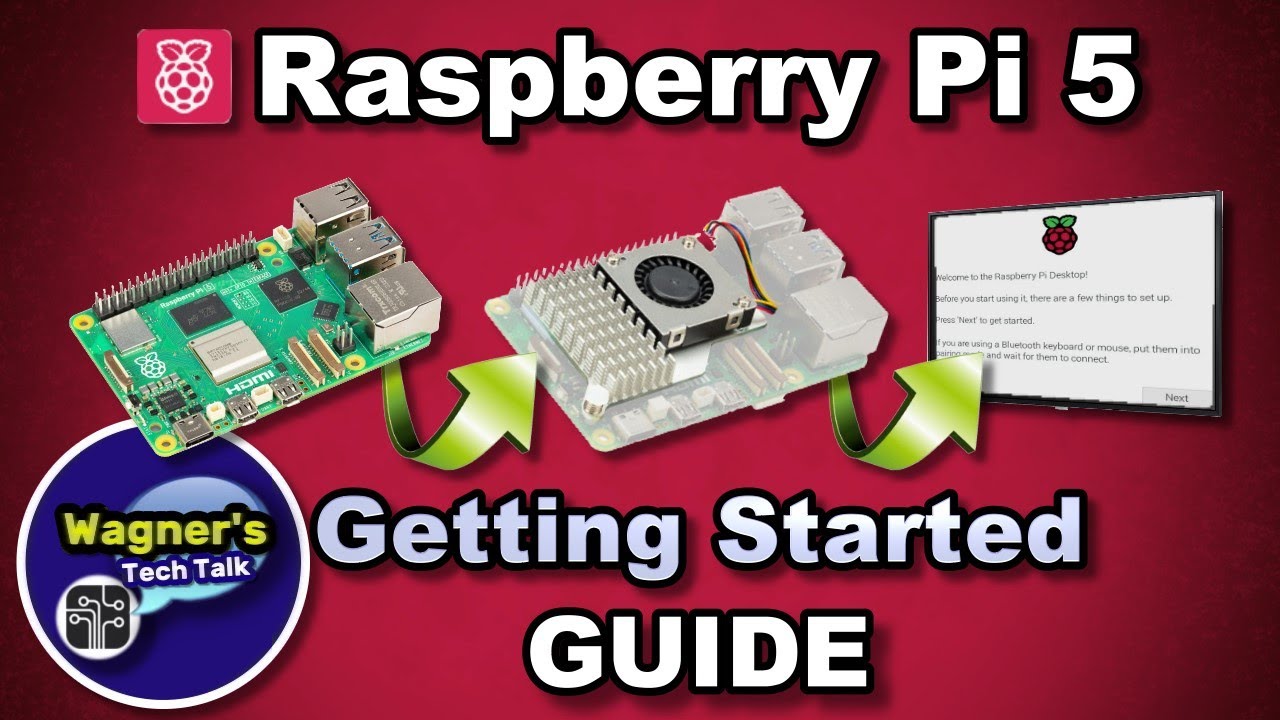
Raspberry Pi 5 Setup: Getting Started Guide (Step By Step)
This guide will step you through getting started with the Raspberry Pi 5 from beginning to end. The Raspberry Pi 5 is the latest model released by the Raspberry Pi Foundation and 2-3 times faster than the Pi 4. We'll setup the Pi 5 from unboxing to installing PiOS Desktop and provide some additional tips. More information may be found on the Raspberry Pi 5 Guide: https://wagnerstechtalk.com/rpi5
Helpful Links
• Where to Buy: https://wagnerstechtalk.com/rpi5/#Where_to_Buy_a_Pi
• Accessories: https://wagnerstechtalk.com/rpi5/#Accessories
Chapters
00:00 - Intro
01:00 - Unboxing
02:36 - Main Features
05:26 - Hardware Setup
08:06 - Connections
08:46 - Network Bootloader (discussion)
09:43 - PiOS Desktop Install
15:06 - tips / Browsing
15:33 - Add Software
16:17 - Change Resolution
16:51 - Spreadsheet (Calc)
17:12 - YouTube Test @ 1080p
17:27 - Stress Test + Fan
17:58 - Photo Editor (Gimp)
18:22 - Outro
*This video is for Educational Purposes only!
*As an Amazon associate, I earn from qualifying purchases.
For the latest updates, please visit: http://wagnerstechtalk.com
If you found this video helpful/informative, please Like / Share the video
SUBSCRIBE for the latest: https://www.youtube.com/wagnerstechtalk?sub_confirmation=1
Feel free to ask a question in the comments below or visit my website. I try to answer most questions that we can: http://wagnerstechtalk.com
Or join us on one of the following social media sites...
Facebook: https://www.facebook.com/wagnerstechtalk
Twitter: https://twitter.com/wagnerstechtalk
#raspberrypi #raspberrypi5 #pi5 #pios #wagnerstechtalk #wtt
.
The step writing to the storage worked well. However, this video didn’t mention “Enable SSH”. I just followed it until the step connected the Raspberry pi with a display. Wow, I needed another microHDMI cable for the connection! Unfortunately, I missed this piece again.
🗒️ Homework: take a rest from this missing hardware trauma.
Day2
I received my SD card and kept going following the official guide. At the exact next step: Install an operating system, wwww, I didn’t have any adapter to insert the SD card into my laptop to write the imager.
🗒️ Homework: I ordered a SD card adapter because my laptop which I gonna use to write the image has a normal sized SD card slot.
Day1
I installed the raspberry pi in the official case and visited the official get-started website with excitement.
 YouTube